I do not own this ebook. I just downloaded this from file sharing websites. If you find this helpful, please leave a comment, like the post and share. Happy coding.. :D | |||
0 Comments
How to Retrieve and save an image in MySql using VB.net. Display image in a grid and picturebox.10/3/2012 In this tutorial i will teach you about image retrieving and saving using vb.net and MySql. To do this in C# is so simple. Remember that C# and Vb.net are all running in the same framework, only the syntax may vary. In this scenario i am using MySql , Visual Studio 2010 and Infragistics. To know more about infragistics follow this link http://www.infragistics.com/ . Infragistics let's you as developer make things so easy and hassle free. I am using Infragistic 10.2 for this. Anyway you can use any infragistic winform all you have to do is to upgrade this project. To start this project, I'd created a database sample CREATE TABLE `sample` ( `idno` VARCHAR(15) NOT NULL, `userimg` LONGBLOB, PRIMARY KEY (`idno`) ) ENGINE=INNODB DEFAULT CHARSET=latin1 This simple exercise will be like this : 
This would be the first thing to do. As you can see i have a grid with the images on it, upload and save button and 2 picture boxes which will hold the previews upon upload and grid preview. 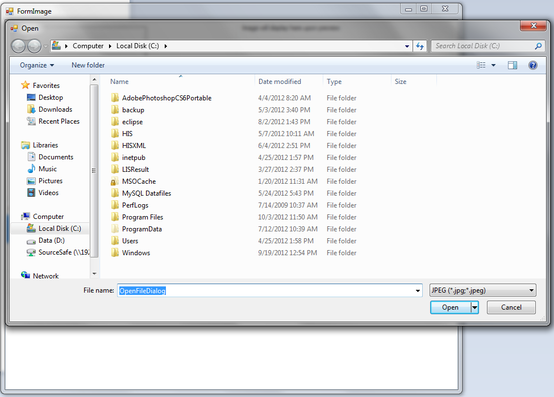 The 2nd phase is this. Upon clicking on the upload button, and opendialog box should appear. The open dialog box should be filtered into images only and this is how to do that. OpenFileDialog.Filter = "JPEG (*.jpg;*.jpeg)|*.jpg|PNG (*.png)|*.png" . If you want to filter all files, etc, all you have to do is to change the filter string. 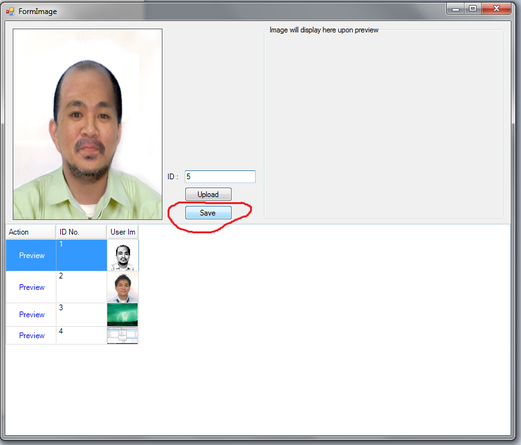 Saving image into MySql is easy. All you have to do is to have an long blob datatype for the DB and then convert the image into byte. Private Sub btnSave_Click(ByVal sender As System.Object, ByVal e As System.EventArgs) Handles btnSave.Click Try Dim cmd As New MySqlCommand Dim SQL As String Dim rawData() As Byte Dim fs As FileStream fs = New FileStream(fullPath, FileMode.Open, FileAccess.Read) rawData = New Byte(fs.Length) {} fs.Read(rawData, 0, fs.Length) fs.Close() con.Open() SQL = "INSERT INTO user.sample(idno, userimg) VALUES('" & txtID.Text & "', ?bin_data)" cmd.Connection = con cmd.CommandText = SQL 'cmd.Parameters.Add("@bin_data", rawData) cmd.Parameters.Add(New MySqlParameter("@bin_data", rawData)) cmd.ExecuteNonQuery() MsgBox("Successfully saved!") pBox.BackgroundImage = Nothing grd.DataSource = previewme() con.Close() Catch ex As Exception con.Close() MsgBox(ex) End Try End Sub 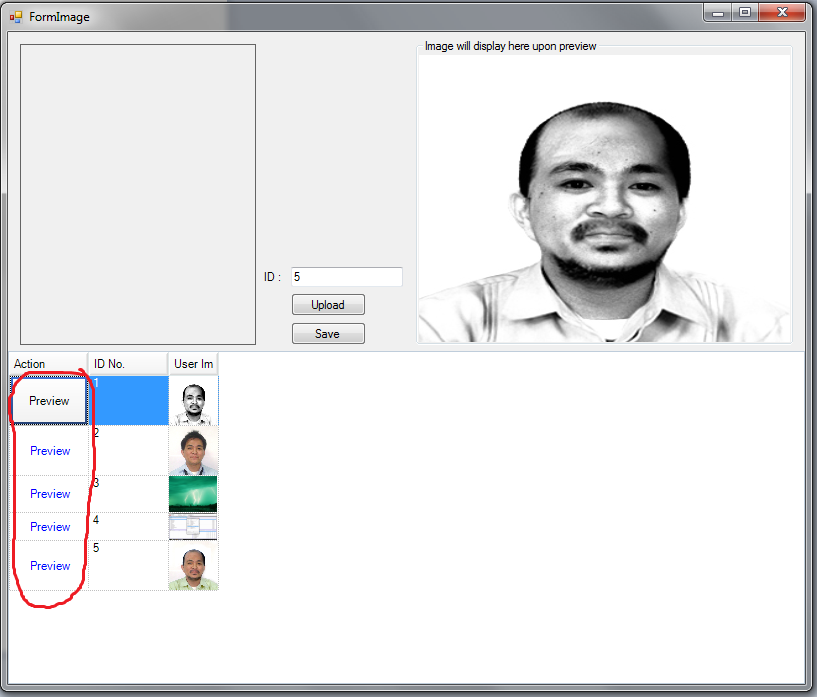
This is where infragistics makes your project easy. In the grid_initializelayout event all you have to do is to set the "image" column into style = image: Case "userimg" .Header.Caption = "User Image" .Width = 50 .Style = Infragistics.Win.UltraWinGrid.ColumnStyle.Image On the preview button part, i had set a 'preview' field on my query and set the field column into button in grd_initializelayout. //query "SELECT 'Preview' as action, idno,userimg FROM user.sample" //layout Case "action" .Header.Caption = "Action" .Width = 80 .Style = Infragistics.Win.UltraWinGrid.ColumnStyle.Button .CellAppearance.TextHAlign = Infragistics.Win.HAlign.Center .CellAppearance.TextVAlign = Infragistics.Win.HAlign.Center .CellAppearance.ForeColor = Color.Blue Download the whole source code here:
If this exercise helped you, don't forget to share, comment and like :)
HAPPY CODING :D Cheers!!! | |||
 RSS Feed